02. Adding an Employee/User
- 30 Jan 2024
- 1 Minute to read
- Print
- DarkLight
02. Adding an Employee/User
- Updated on 30 Jan 2024
- 1 Minute to read
- Print
- DarkLight
Article Summary
Share feedback
Thanks for sharing your feedback!
02. Adding an Employee/User
Employee/User Management: Adding an Employee/User
To add new employees / users you must have administrative permissions.
Note: An employee becomes a user when the employee entered is assigned a username and password, given the appropriate permissions, and the ActiveYN option is set to Yes.
To add a new user, select Add Employee from the Employees menu:
.png)
The Add Employee: Select License Type screen opens.
From the Add Employee for License Type drop down menu, select the License Type to which the new user will be assigned. When the license type is chosen, the specific license type’s information (number of sessions allowed, etc.) are displayed in the information box below..png)
Click the Continue Employee Add button to open the Add Employee screen.
Enter the new employee/user information. Click Continue to save the information.
.png) The Regional Setting field on the Add Employee screen allows System Administrators to specify a user's localization. This specification is usually used by international organizations with Employees/users outside of the United States. By specifying a user's Regional Setting, it will set the date/time format to the region selected for that user when he/she logs into the Contract Insight application and counts non-working days that have been assigned to that region. For more information on non-working days, please see Workflow Management.
The Regional Setting field on the Add Employee screen allows System Administrators to specify a user's localization. This specification is usually used by international organizations with Employees/users outside of the United States. By specifying a user's Regional Setting, it will set the date/time format to the region selected for that user when he/she logs into the Contract Insight application and counts non-working days that have been assigned to that region. For more information on non-working days, please see Workflow Management.
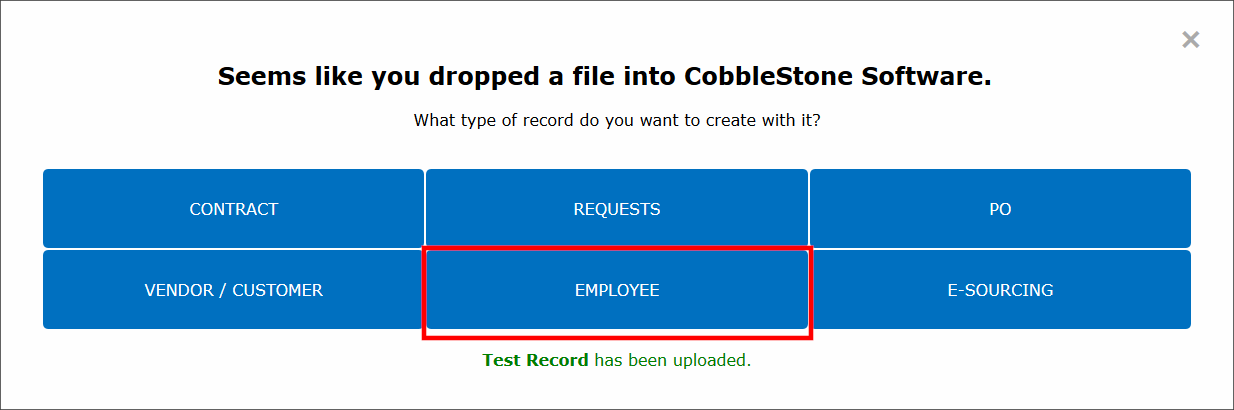
You are also able to add an employee record from a file on any page with the grey Drag and Drop box in the side menu by dragging and dropping a file on the screen.
You will then be prompted to choose what record type to create from the file. For an employee/user you will want to click the Employee button.
.png)
Afterwards you will be brought to a screen to review the file and enter all record metadata as necessary.
Was this article helpful?